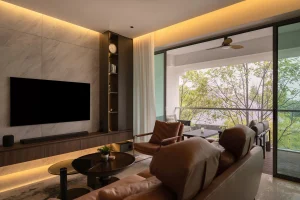
Creating an immersive home theater experience hinges on positioning your laser projector correctly, and a key factor in this is understanding throw distance. Throw distance refers to the space between your projector’s lens and the screen, which determines the size and quality of the projected image. Whether you’re setting up in a spacious living room or a compact den, selecting the right throw distance ensures a sharp, properly sized image that maximizes your projector’s potential. This guide explains throw distance, how to calculate it, and practical steps to optimize your home theater setup.
Understanding Throw Distance and Throw Ratio
Throw distance is governed by a projector’s throw ratio, a specification that indicates how far the projector needs to be from the screen to produce a specific image width. The throw ratio is expressed as a range (e.g., 1.4:1 to 2.8:1) or a single number (e.g., 1.5:1). For example, a projector with a 1.5:1 throw ratio placed 9 feet from the screen will produce an image 6 feet wide.
Projectors fall into three main categories based on throw distance:
- Long-throw projectors: These have higher throw ratios (typically 1.3:1 or higher) and are suited for larger rooms, requiring 10-20 feet of distance to project a 100-inch image.
- Short-throw projectors: With ratios between 0.5:1 and 1.2:1, these work well in medium-sized rooms, projecting large images from 4-10 feet.
- Ultra-short-throw (UST) projectors: With ratios below 0.5:1, these can project a 100-inch image from just inches away, ideal for small spaces.
Check your projector’s manual or specifications to find its throw ratio. This will guide you in determining the ideal placement for your room.
Measuring Your Room and Screen Size
Before calculating throw distance, measure your room’s dimensions and decide on your desired screen size. A 100- to 120-inch diagonal screen is common for home theaters, but the size depends on your room and viewing preferences. As a rule of thumb, the viewing distance (from your seat to the screen) should be 1 to 1.5 times the screen’s diagonal size for a cinematic experience. For a 100-inch screen, sit 8-12 feet away.
Measure the available space between where you plan to place the projector and the screen. Account for furniture, walls, or other obstacles. If you’re using a ceiling mount, measure from the ceiling to the screen’s center. For tabletop setups, measure from the projector’s lens to the screen. Ensure the projector has enough clearance for ventilation to prevent overheating.
Calculating Throw Distance
To calculate the throw distance, use the formula:
Throw Distance = Screen Width × Throw Ratio
For example, if you want a 100-inch diagonal screen with a 16:9 aspect ratio, the screen width is approximately 87 inches (or 7.25 feet). For a projector with a 1.5:1 throw ratio:
Throw Distance = 7.25 feet × 1.5 = 10.875 feet
If the projector has a zoom range (e.g., 1.4:1 to 2.8:1), the throw distance will vary. Using the same 100-inch screen:
- Minimum distance: 7.25 feet × 1.4 = 10.15 feet
- Maximum distance: 7.25 feet × 2.8 = 20.3 feet
Many manufacturers provide online throw distance calculators on their websites. Input your desired screen size and the projector’s throw ratio to get precise measurements. Alternatively, apps or tools like projectorcentral.com offer user-friendly calculators for planning.
Positioning Tips for Different Throw Types
Long-Throw Projectors
Long-throw projectors are ideal for large rooms (12 feet or deeper). Mount them on the ceiling or place them on a rear shelf to avoid obstructions like furniture or viewers’ heads. Ensure the projector is centered with the screen to prevent image distortion. If the room is too small for the required distance, the image may be too small or require digital zooming, which can reduce clarity.
Short-Throw Projectors
Short-throw projectors are versatile for medium-sized rooms (8-12 feet deep). They can be placed on a table or low stand closer to the screen, making them easier to set up without ceiling mounts. Align the projector carefully, as even slight misplacements can cause keystone distortion (where the image appears trapezoidal). Use the projector’s keystone correction sparingly to maintain image quality.
Ultra-Short-Throw Projectors
UST projectors are perfect for small spaces or apartments. They can be placed on a console just inches from the wall, projecting large images without needing much room depth. However, they require a flat, stable surface and a highly smooth screen to avoid texture distortion. UST projectors often pair well with ambient light-rejecting (ALR) screens designed for close-range projection to enhance contrast.
Avoiding Common Pitfalls
- Keystone and Lens Shift: Misalignment can tempt you to overuse keystone correction, which digitally alters the image and may reduce sharpness. Instead, adjust the projector’s position or use lens shift (if available) to align the image mechanically without quality loss.
- Obstructions: Ensure no objects block the projector’s light path. Even partial obstructions can create shadows or distort the image.
- Screen Quality: Pair your projector with a smooth, high-quality screen. A textured wall or low-quality screen can degrade the image, especially with short-throw or UST projectors.
- Room Constraints: If your room’s size doesn’t match your projector’s throw ratio, consider a different model. Forcing a long-throw projector into a small room or vice versa will compromise the experience.
Testing and Fine-Tuning
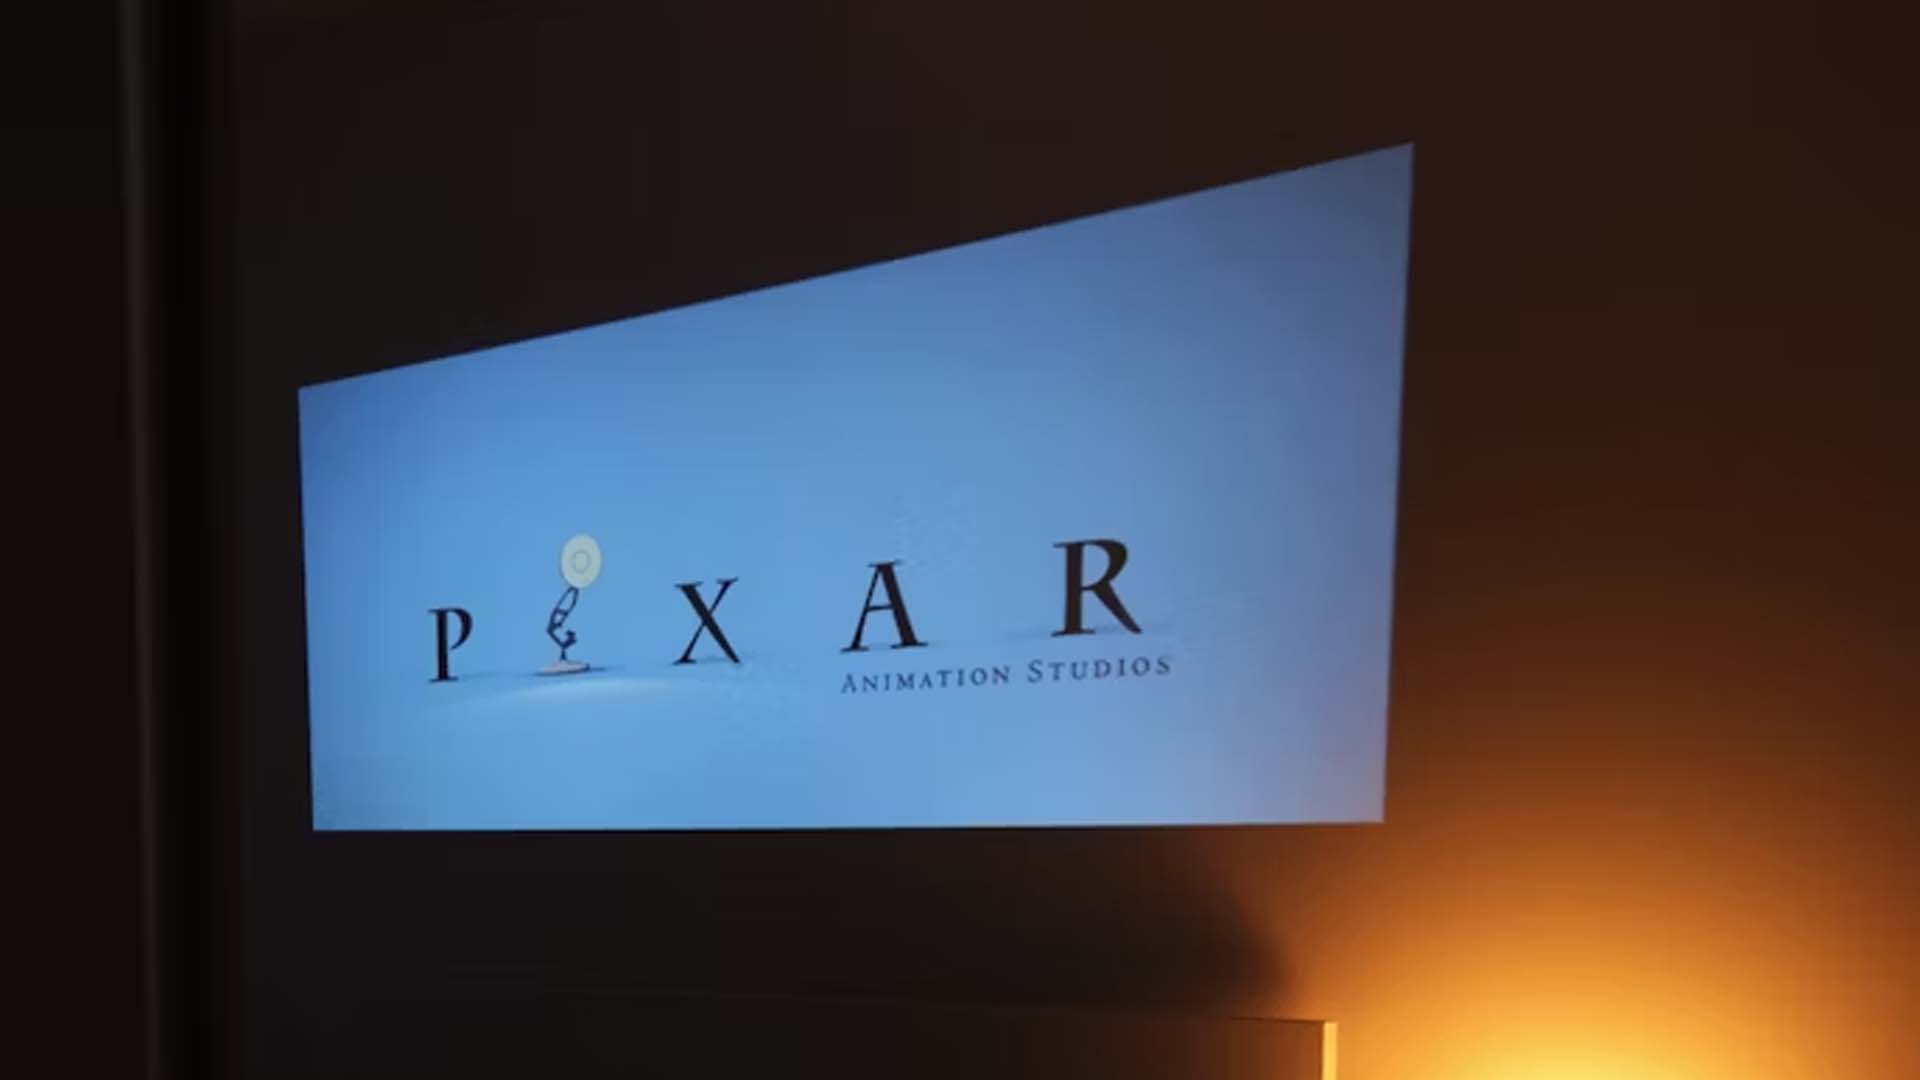
Once your projector is positioned, test the setup with various content—movies, sports, or games—to check for clarity and size. Sit at different viewing angles to ensure the image looks consistent. If the image is too small or large, adjust the projector’s position within its throw ratio range or tweak the zoom (if available). For ceiling-mounted setups, double-check stability and alignment after installation.
Additional Considerations
Consider the projector’s brightness and your room’s lighting conditions. In rooms with some ambient light, a brighter projector (2,000+ lumens) paired with an ALR screen can maintain image quality. Also, ensure proper ventilation around the projector to prevent overheating, especially in compact setups with UST models.
By calculating the correct throw distance and positioning your projector thoughtfully, you can achieve a stunning, theater-like image tailored to your room. Whether you’re working with a spacious basement or a cozy living room, understanding throw ratios and room dynamics ensures your best projector for home theater delivers maximum impact.